Explore existing indoor and outdoor terrazzo floor projects. Compare the surface before and after restoration, and tell us about any wear, marks or damaged areas on your own floor.
Real project photographs, shown side by side. Results depend on the material and condition. Viewpoint and lighting may differ.
Project 01
Terrazzo floor
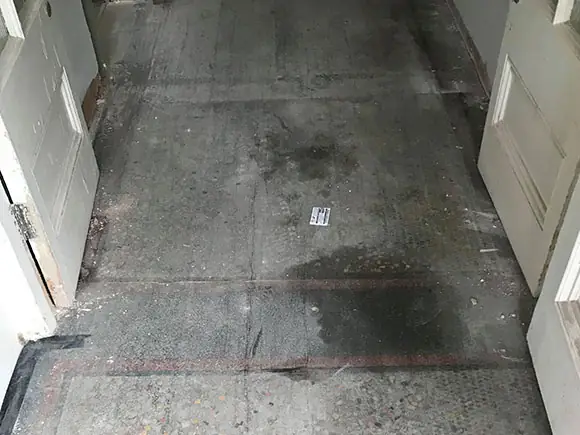
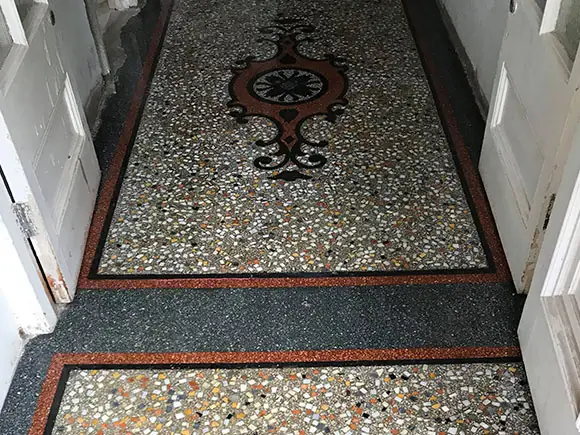
Before: Entrance floor with a dark covering that obscures most of the decorative pattern.After: Decorative terrazzo with a central motif, contrasting border and visible aggregate.
The later photograph reveals a patterned terrazzo entrance with a central decorative motif. Its border and individual aggregate pieces are much clearer than in the first view, where the surface is largely obscured.
Practical note: For decorative floors, the assessment should consider the border, inlay and surrounding joints as well as the main field. Explore floor finish restoration ↗
Project 02
Outdoor terrazzo
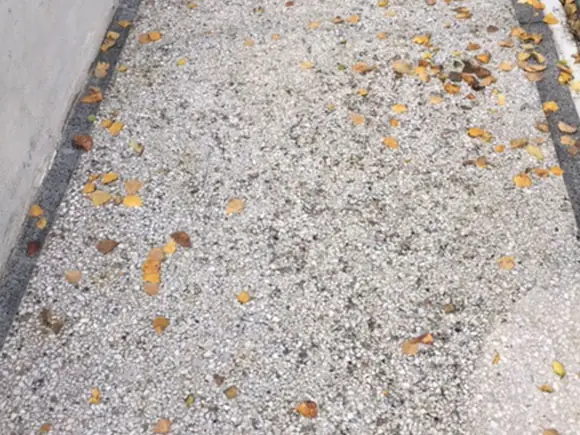
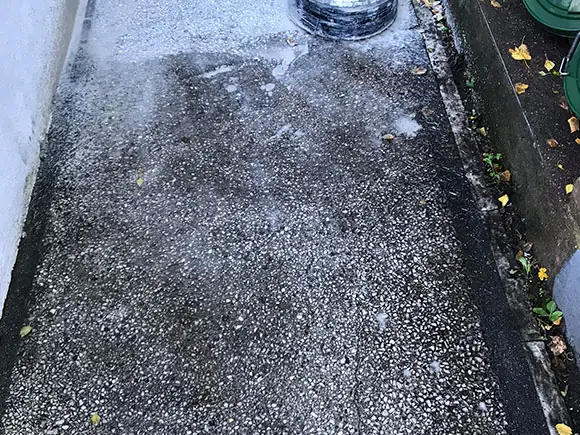
Before: Outdoor aggregate floor with leaves and pale, uneven-looking surface areas.After: The outdoor surface shown darker and visibly wet, with equipment nearby.
These views record an outdoor terrazzo surface and its working area. The second photograph is visibly wet, which changes the apparent colour and reflection. It should not be taken as evidence of the final dry finish or slip performance.
Practical note: Ask to assess an outdoor result when dry, and discuss drainage and the suitability of the finish for its setting.
Explore the treatment options
Cleaning, refinishing and repairs address different problems. Discuss the material and damage before deciding what is suitable.
Essential storage makes this website work. With your permission we would also measure how the site is used, and measure responses to our advertising. Nothing optional loads until you choose. Read our privacy policy and terms and conditions.